Rock Art Around Las Vegas
Site 1 | Site 1a | Site 2 | Site 3 | Site 4 | Site 5 | Site 6 | Site 7 | Site 8 | Site 9 | Site 10

Rock art is a precious resource. Please help protect and preserve these sites.
 |
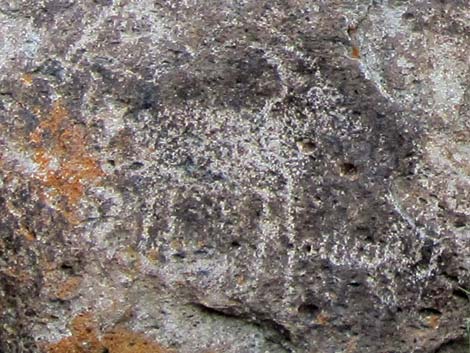
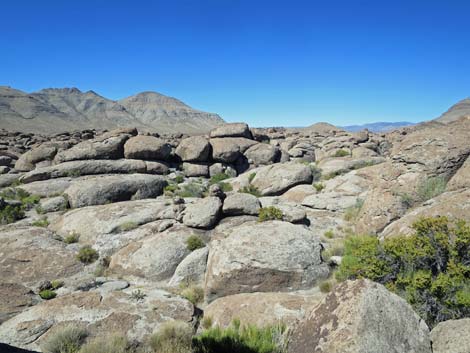
Overview The Crystal Wash Main Archeological Site (or "Rock Story" site) is an area of desert-varnished, volcanic boulders along a sandy wash and on a gently sloping hillside above the wash. Above the wash, ancient people stayed in the area for long periods of time, probably living here during winters. While here, they flaked stones, built fires, broke ceramic vessels, and etched the rocks with representational (e.g., bighorn sheep and human figures) and abstract images. Back in their time, Crystal Creek probably flowed past the village. Site 6 is a habitation site with petroglyphed boulders, cupules, burnt dirt, flaked stones, and pot sherds. For details of the hike and the other numbered sites here, see Crystal Wash Main. Remember that flaked stones and pot sherds are protected by law: leave what you find. For additional information about the area, download the 57-page Lincoln County brochure or just the 3 pages about Crystal Wash Main. |
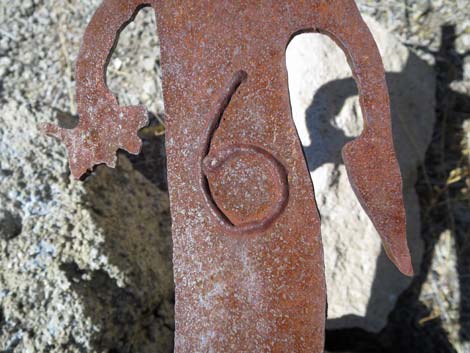
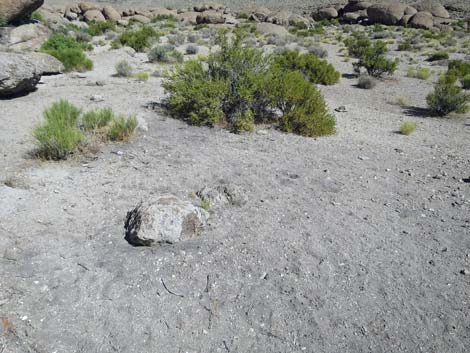
 Marker #6 lying on the ground (view SW, down) |
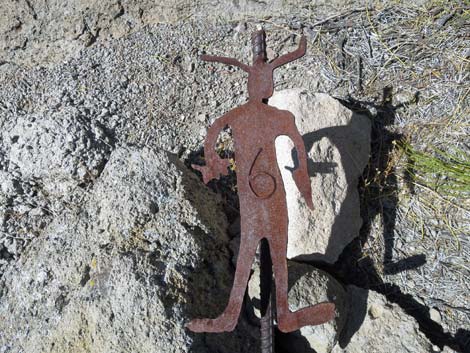
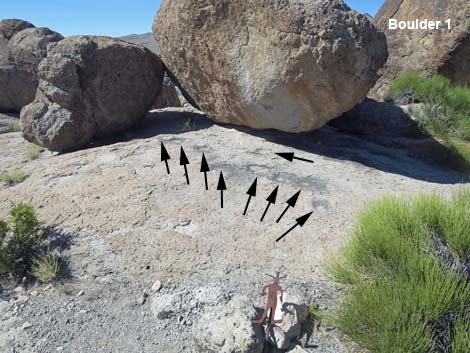 Marker #6, lots of cupules (arrows), and Boulder 1 (view S) |
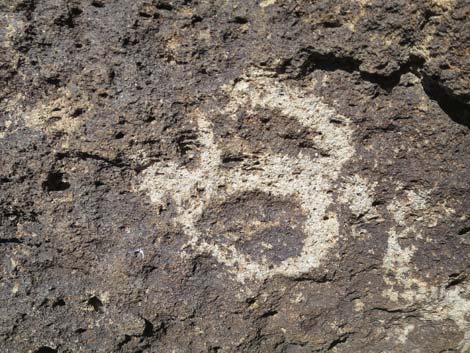
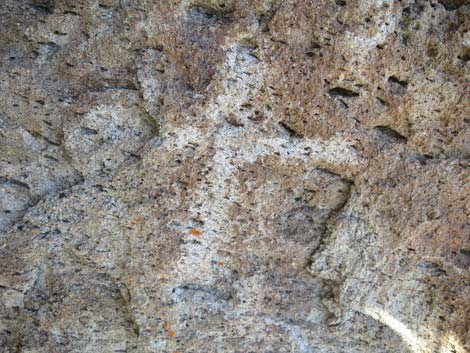
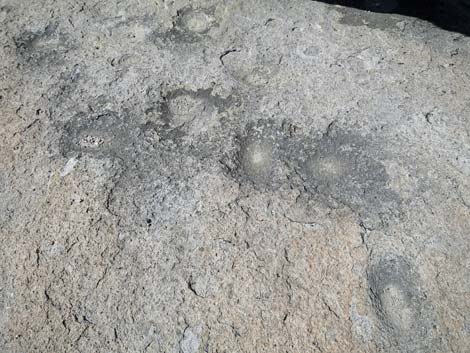 Lots of cupules (view S) |
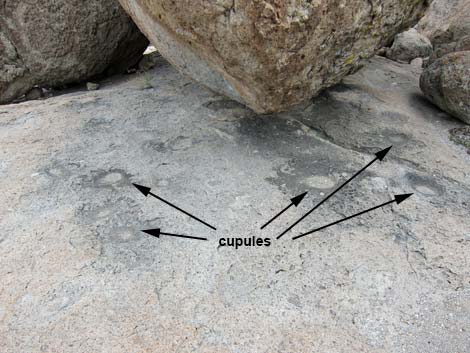 Lots of cupules (view S) |
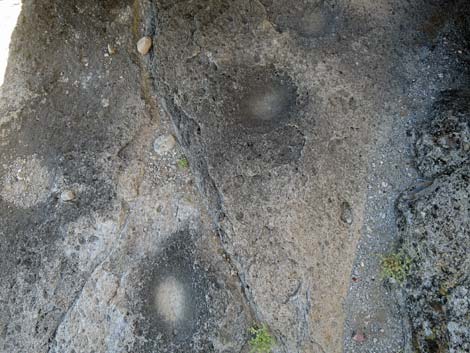 Lots of cupules |
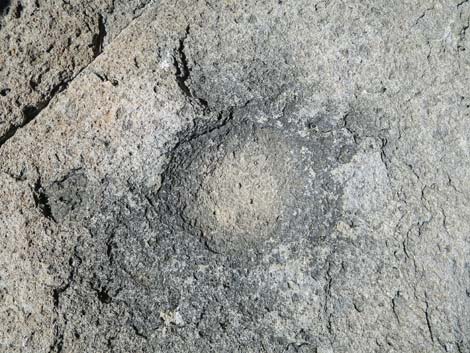 Lots of cupules |
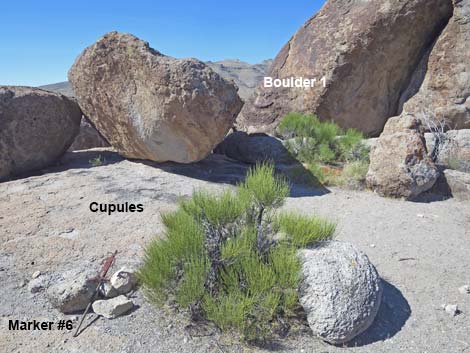 Marker #6, lots of cupules, and Boulder 1 (view S) |
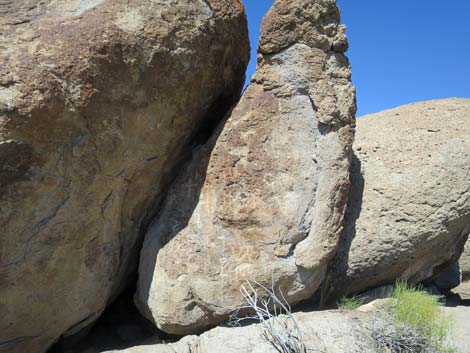
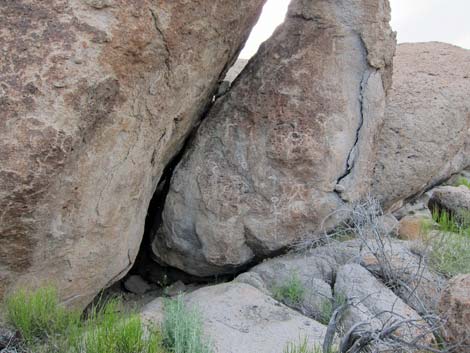
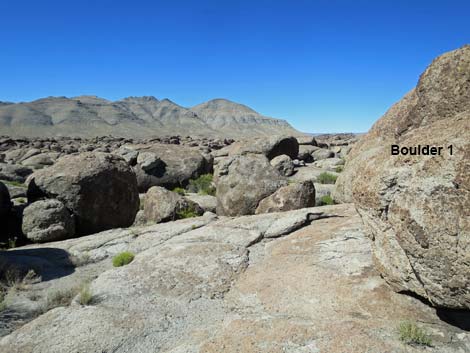
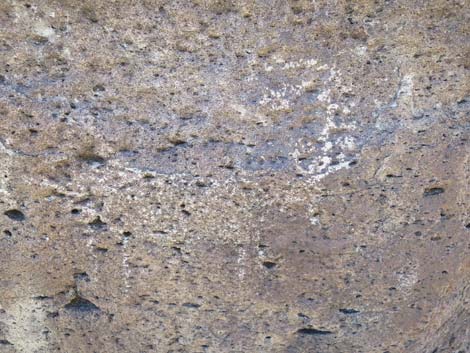
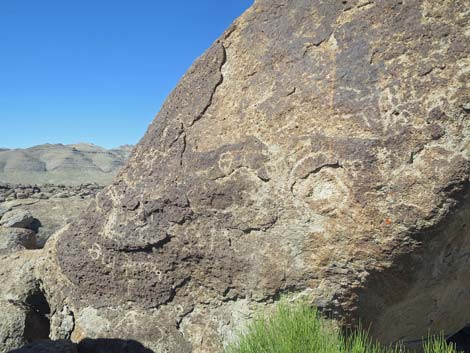 Boulder 1 on a sunny day (view S) |
 Boulder 1 on a cloudy day (view S) |
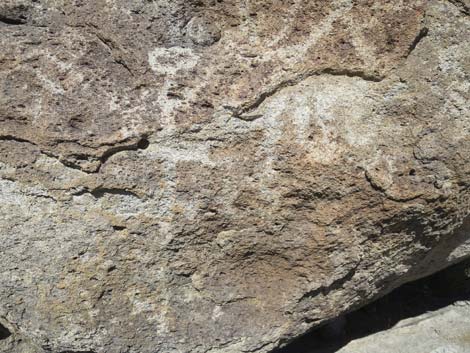
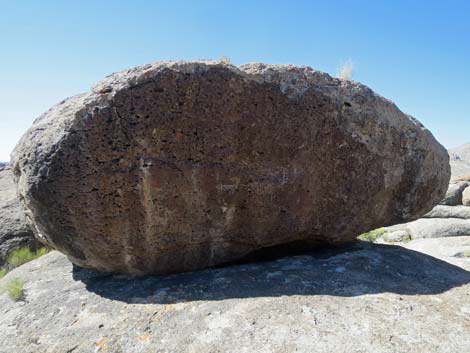
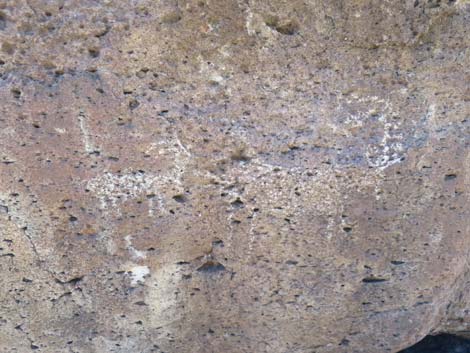
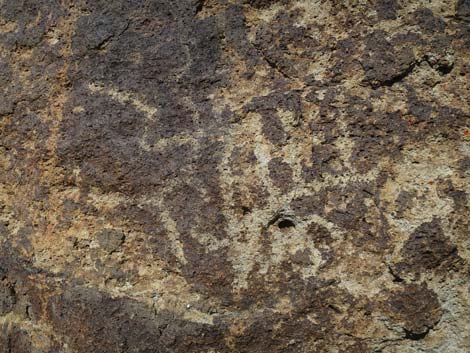 Boulder 1 details on a sunny day (view SW) |
 Boulder 1 details on a sunny day (view SW) |
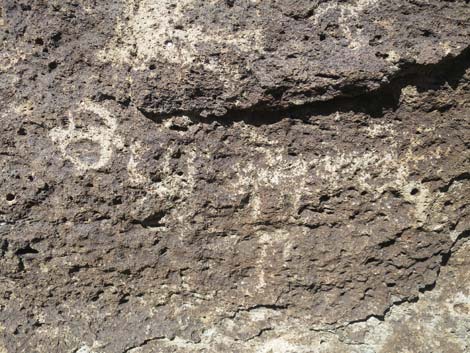 Boulder 1 details on a sunny day (view SW) |
 Boulder 1 details on a sunny day (view SW) |
 Boulder 1 details on a sunny day (view SW) |
 Boulder 1 details on a cloudy day (view SW) |
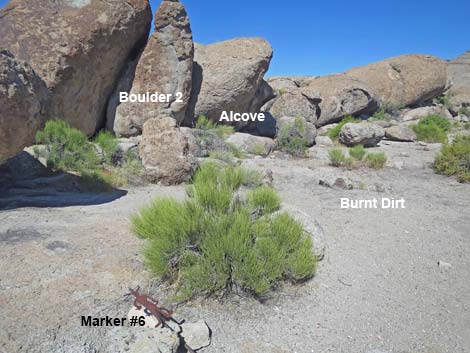 Marker #6 (view W towards Burnt Dirt, Boulder 2, and Alcove) |
 Burnt dirt (view NW) |
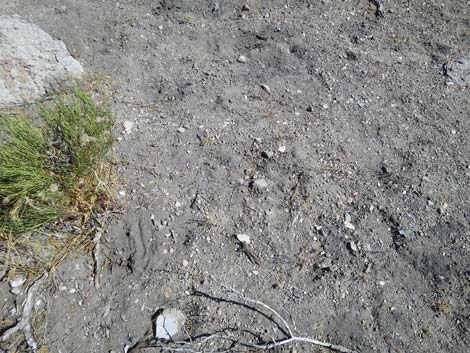 Burnt dirt (view down) |
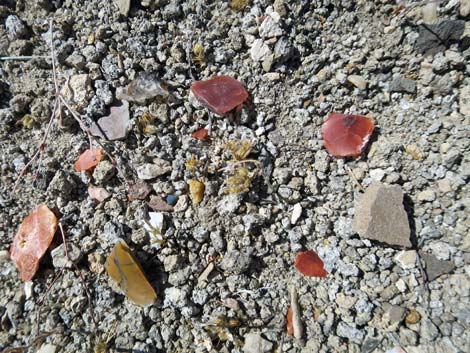 Not just burnt dirt (view down) |
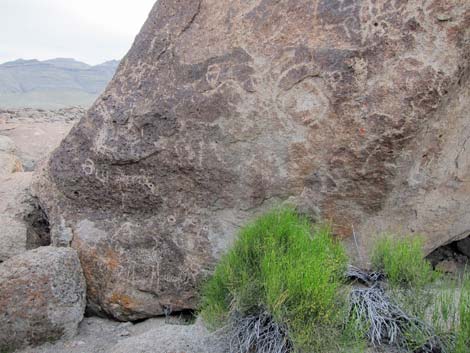
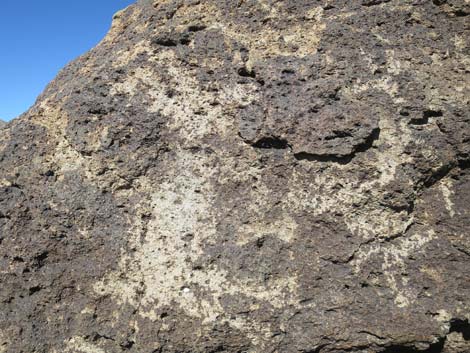
 Boulder 2 on a sunny day (view W) |
 Boulder 2 on a cloudy day (view W) |
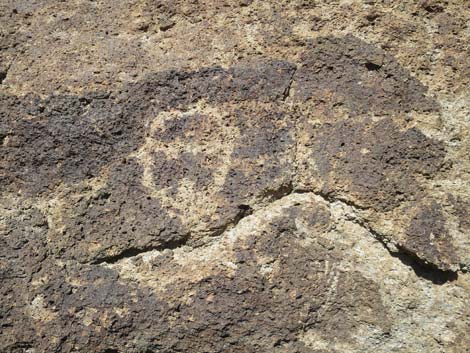
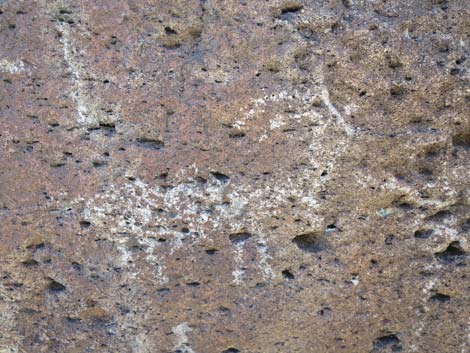
 Boulder 2 details (view W) |
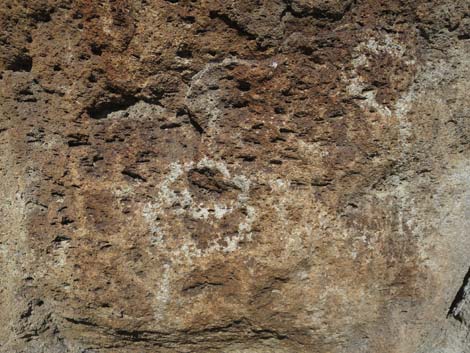 Boulder 2 details (view W) |
 Boulder 2 details (view W) |
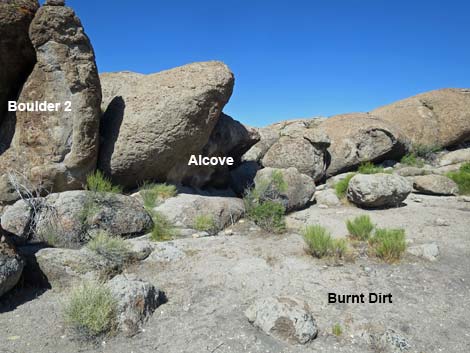 Burnt Dirt (view W towards Boulder 2, and Alcove) |
 Cupules below the alcove (view S) |
 Petroglyphs and pictographs under the alcove (view S, up) |
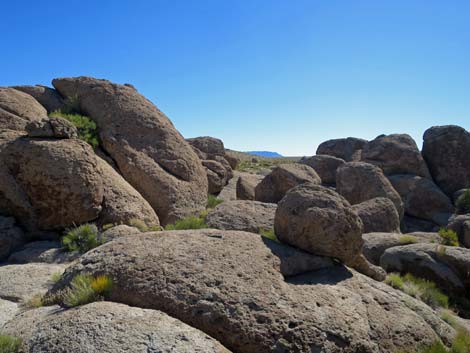
 The Outback: what wonders lie out there? |
 A little bit of what lies out there (view SW) |
 Details of what lies out there (view S) |
 Details of what lies out there (view S) |
 Details of what lies out there (view S) |
 The Outback: what other wonders lie out there? |
 Returning to Site 6 (view NW) |
Happy Hiking! All distances, elevations, and other facts are approximate.
![]() ; Last updated 240323
; Last updated 240323
| Rock Art | Glossary | Copyright, Conditions, Disclaimer | Home |